ROom Divider

This room divider features modular, vacuum-formed panels that double as shelves, planters, or trays, with magnetic clips for added function, all folding flat for easy setup and storage. 2025


Overview
This two-week group project focused on designing a room divider for an office setting. With a team of four, we split tasks with my role centered around brainstorming, fabrication, machining, sanding, and 3D modeling, while others handled manufacturing, painting, and color choices. Vacuum forming was a required process none of us had used before, adding to the challenge. The final build uses 3D printing, laser cutting, CNC machining, painting, sanding, and vacuum forming.

First Sketch
With limited time, we split tasks quickly with me and one other diving into research and rough sketching, while the rest focused on refining ideas. Within the first few days, we had a solid concept locked in.

3D Printed Molds
To test vacuum forming, we 3D printed a mold with a five-inch deep cavity meant to cradle books and supplies. None of us had used this technique before, so we jumped in ready to experiment, only to later realize the design was totally flawed. Still, it pushed us to rethink, adjust, and improve.
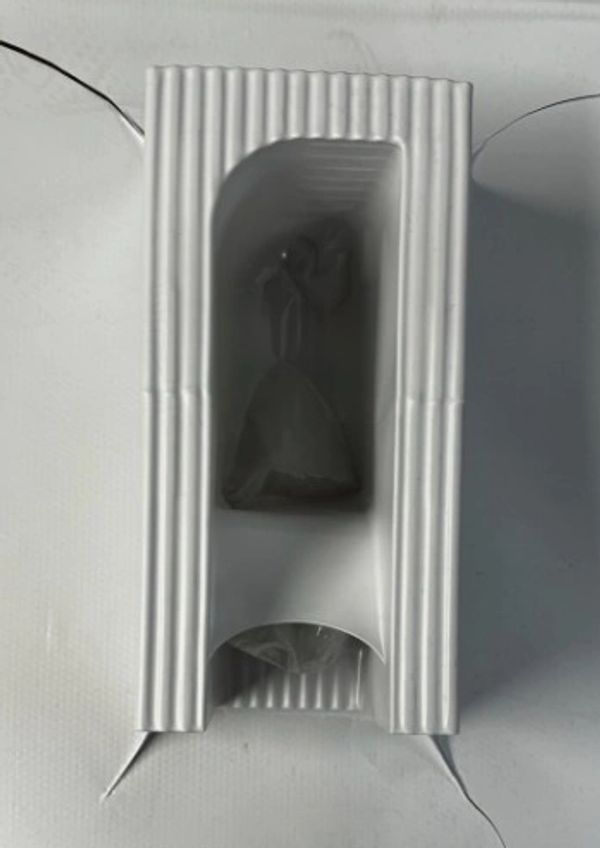
Total Failure
As you can clearly see, this didn’t work, but why? The main issue was the five-inch cavity. With the tools and materials we had, the thin plastic couldn’t reach the bottom during vacuum forming. Even if it had, the result would’ve been paper-thin and structurally weak. With only a few days left, we had to scrap the design and start over. I didn’t get frustrated, as failure is just an excuse to innovate.

Rethinking
We needed a quick solution and it had to work. I came up with the idea of using an organized system instead of relying only on vacuum formed pieces. That led to the slot slot design, giving the divider a modern look while keeping it strong and functional.

3D Modeling
I quickly pulled together a design that was both functional and practical, while one teammate worked on the 3D printed mold for vacuum forming and others gathered materials.

CNC Machining
To bring the design to life, we used a tabletop CNC to cut the parts. Once the machining was done, I cut off the tabs that held each piece in place, then sanded everything down to prep for painting.

Painting
Painting started with a few layers of primer, followed by the chosen blue finish. The vacuum-formed and 3D printed pieces were painted inside and out, using different colors on each side to add contrast and depth.

Vacuum Forming
Thankfully, this process went smoothly. The new mold had a higher draft angle and was split into three parts, making it much easier to remove after forming. After a handful of tries, we began to understand what made each attempt more successful and managed to produce enough clean, polished pieces. Once formed, each panel was carefully trimmed and painted.

Hardware
Items like the magnetic paper clip and the trays that fit into the vacuum-formed shelves were all 3D printed. This clip, in particular, clamps onto the narrowest slot, allowing papers to slide up and down with ease.
